How to Blanch Greens (the easy way), starring those superstars of nutrition: broccoli leaves
0April 3, 2019 by Hope Gardens
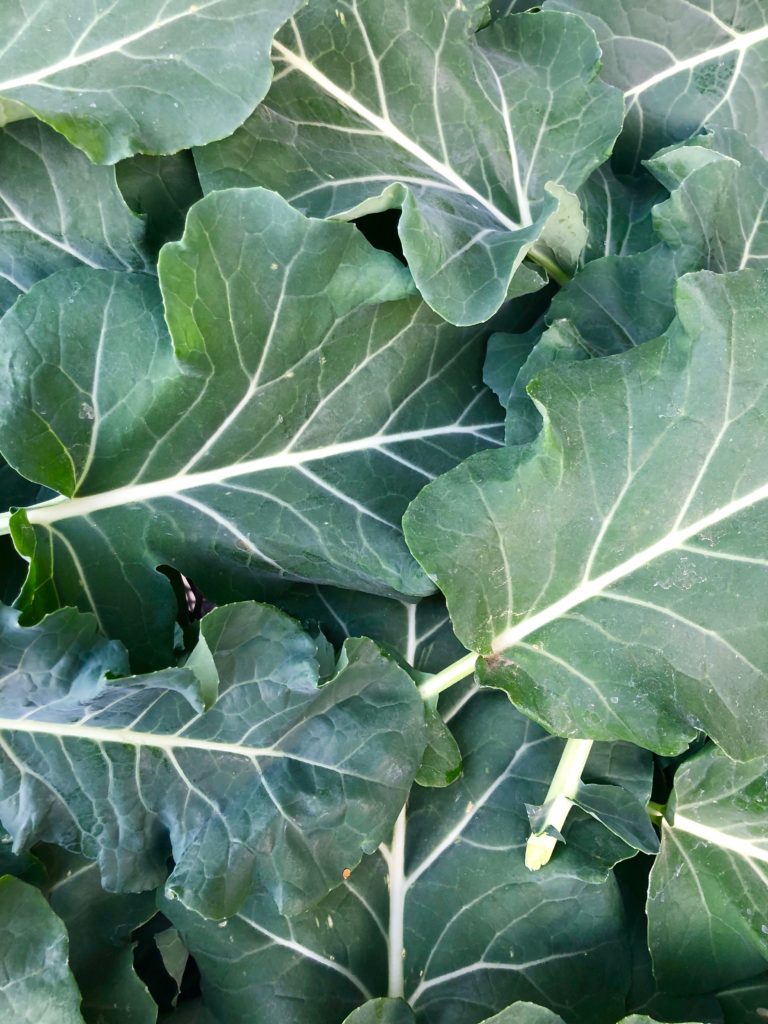
Sure, the traditional green broccoli head floret is very attractive and to grow one feels like such an accomplishment. But did you know, broccoli leaves have more vitamins than the flowerhead we usually consume? Another newsflash, the stalk is gram for gram the healthiest part of the broccoli. I love to use a tender stem in my smoothies but truth be told, this broccoli plant was planted a little very late in the season and it was in too much shade and so…this is the situation.
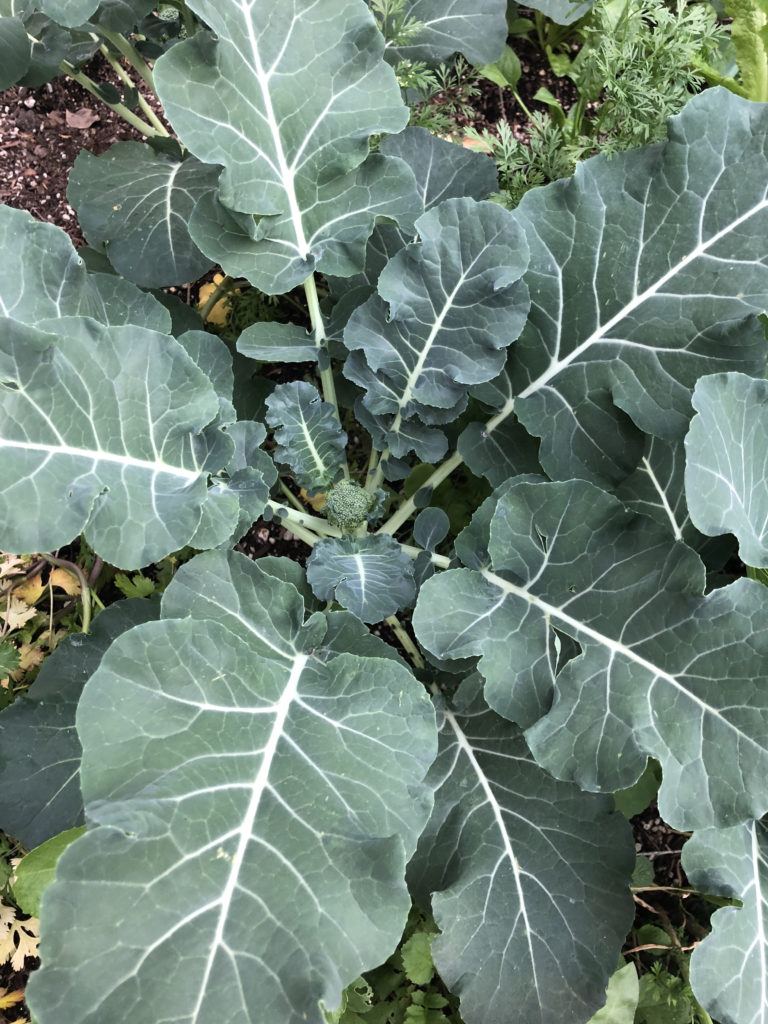
Don’t laugh! He’s adorable and tiny and I love him. But this brassicas never really got motoring in the floret department and since the spring countdown is upon us, it is time to harvest. Unfortunately, the stalk was too woody to juice, but hey, there’s still a lot to love here. And when you have your own broccoli plants growing in your own garden, you can get a LOT of nutritious leaves.
Broccoli leaves are high in fiber, Vitamin A, Thiamin, Niacin, Pantothenic Acid, Calcium, Iron, Selenium, Vitamin C, Riboflavin, Folate, and Potassium to name a few. They are fantastic in any setting you would use a green: sautees, side dishes, sauces, soups…even smoothies!
For most of your recipes, you are going to want to have cooked leaves and for most of us normal people, we and our families cannot consume several dozen broccoli leaves at a sitting. Also, in reality, harvesting time isn’t always meal cooking time…so what to do? Now, I know you didn’t plant that beautiful broccoli for nothing, so I have an answer.
And that answer is BLANCHING. You can harvest, clean, blanch and freeze your broccoli leaves in a short period of time and then you can use your harvest whenever you like (and it’s already cooked). Here is a quick photo blog to show you how to do it – step by easy step. (I cut out a very traditional step too – going rogue here people!)
Luckily it is!
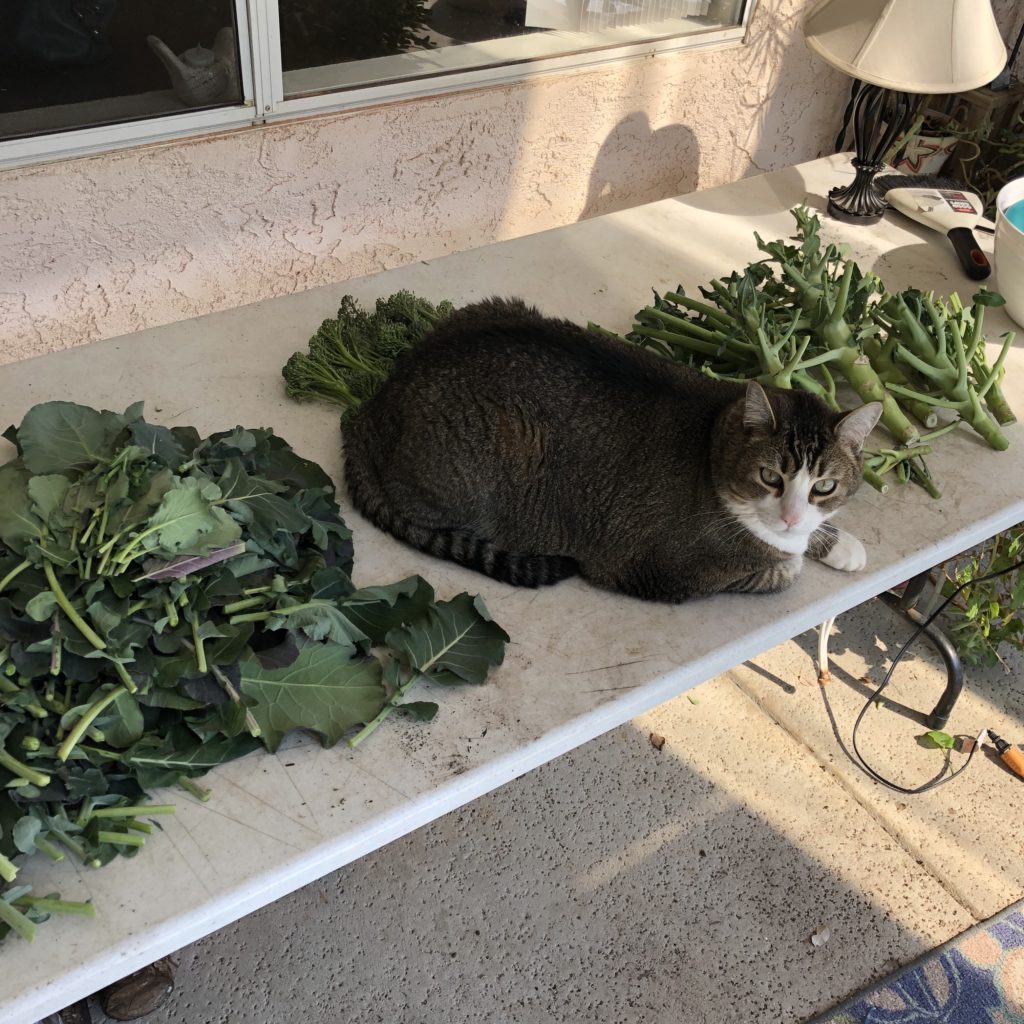
Pull up your broccoli plant(s) and separate the leaves from the mainstalk. If the stalk is tender, throw it in your juicer. If it is not tender, throw it in your composter.
Bring those pretty leaves inside and separate the leaves from their stems.
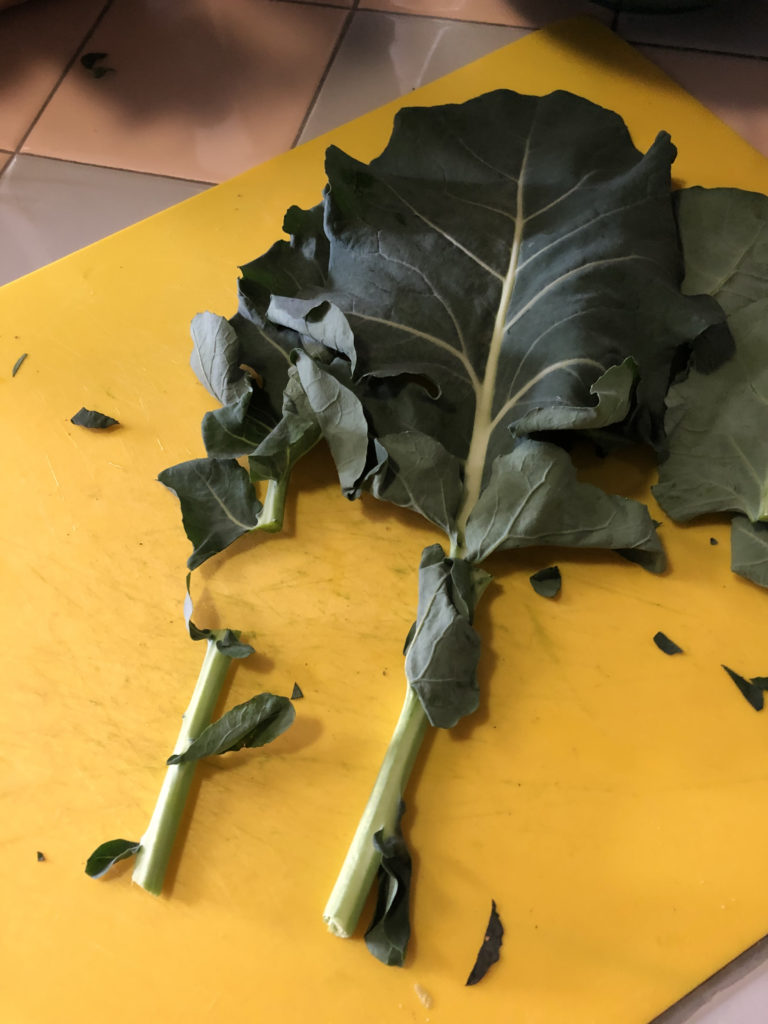
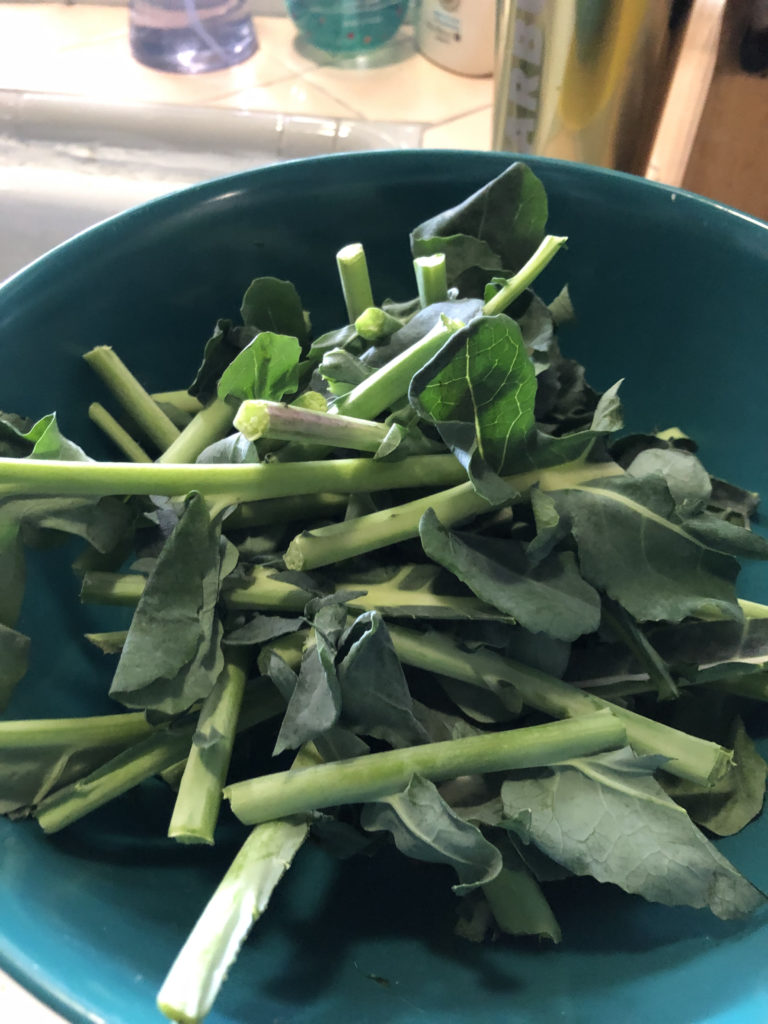
Now these broccoli stems are very tender and they DID make it into my juicer. If you don’t want to juice them, just toss them.
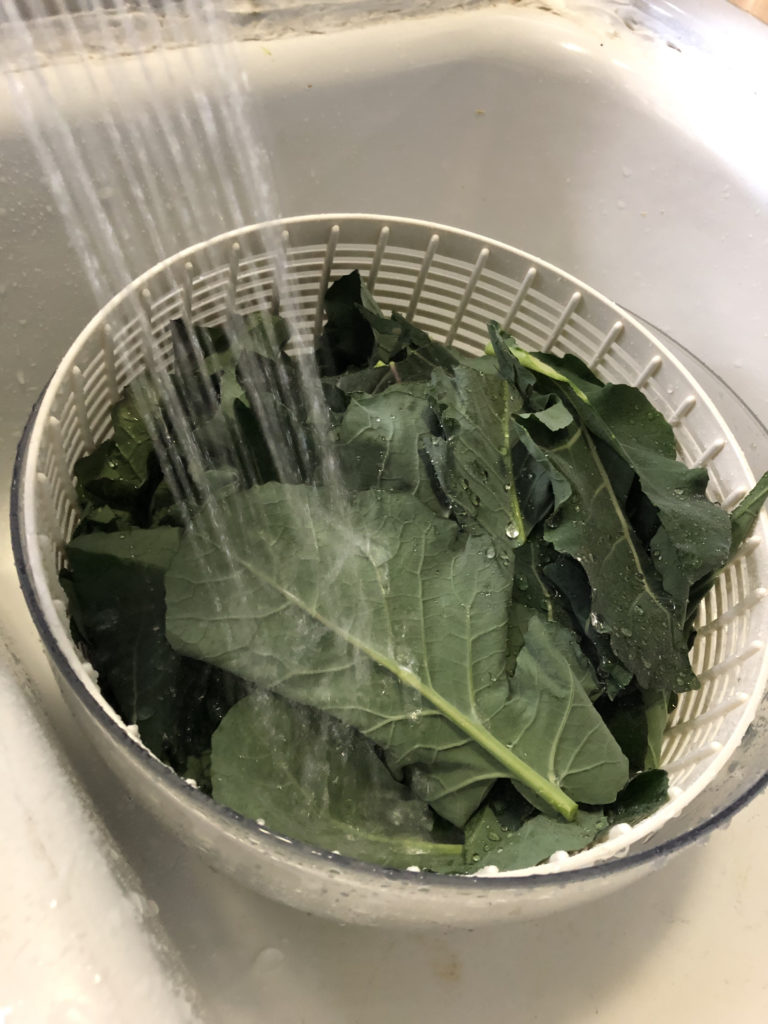
Next, give the leaves a good rinsing. No need to spin or dry the leaves off.
Roughly chop the leaves into small/medium pieces. I’m in a hurry (always) so mine were VERY roughly chopped. (When you defrost your broccoli leaves, you can always give them another chop before using them.) Bring a large pot of heavily salted water to a boil and lower the heat. Add your leaves in batches to the hot water. With the first addition of leaves, start a timer.

Move the leaves around a bit in the simmering water with your eye on your timer, and after two minutes, use a spoon to lift a leaf out of the water to taste if it is tender. The water should also taste salty. If not, add more salt. We are doing a little seasoning at the same time as we are cooking badasses!
So salty!
If the greens taste too chewy, leave them another minute. Around 3 minutes should be good.
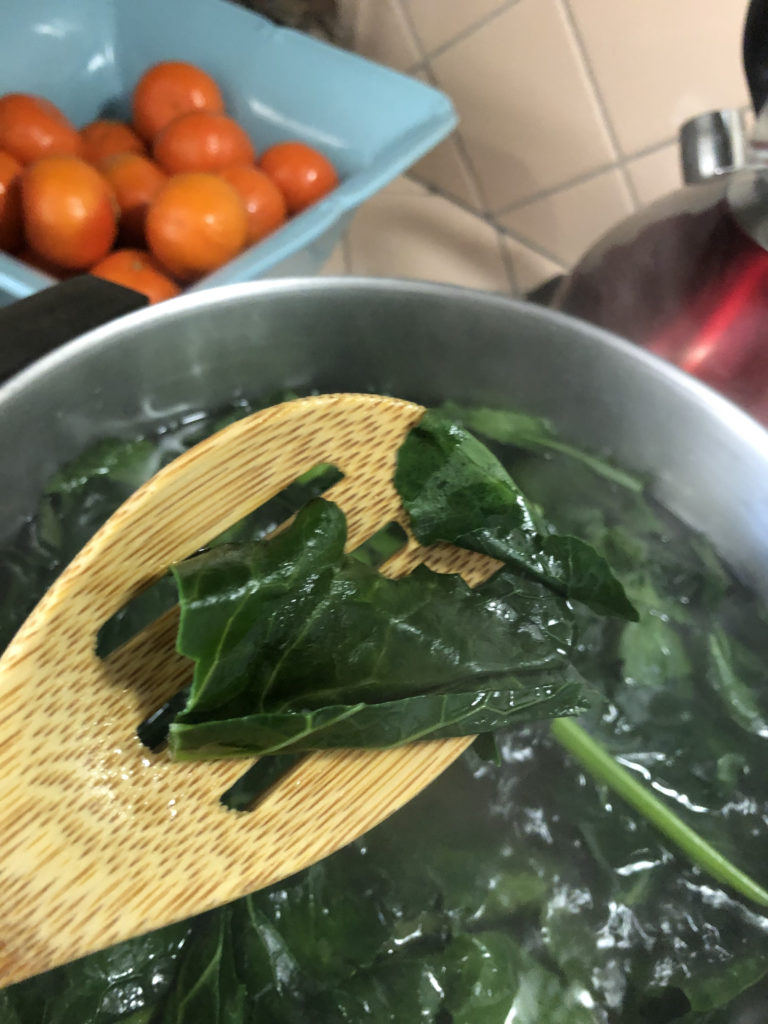
If you are happy with the tenderness, stop the timer. Now you know how long to cook your greens. Use a wire mesh strainer or “spider” to pull the cooked greens out of the pot. We want to keep the water going.
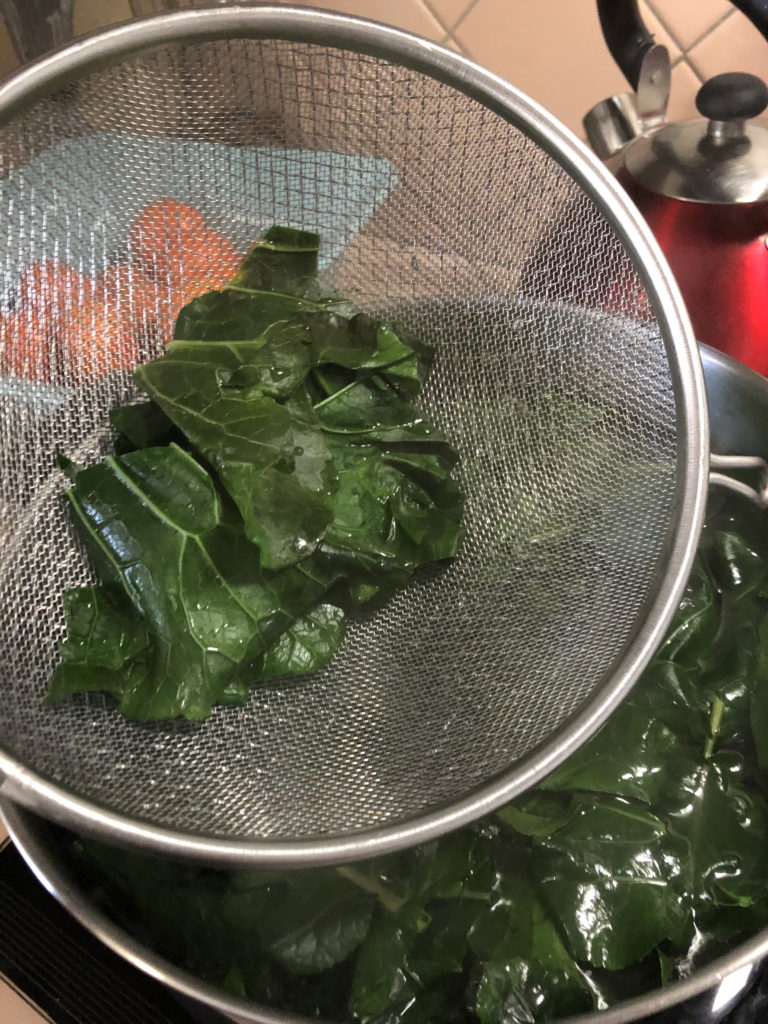
Now here’s the shocker. There’s no need to ice the greens down. You can take the greens directly from the hot water to the strainer to a sheet pan covered in foil. So your greens don’t get too mushy, pull them with a little bit of bite still, and then it’s okay if they cook a little after you pull them out.
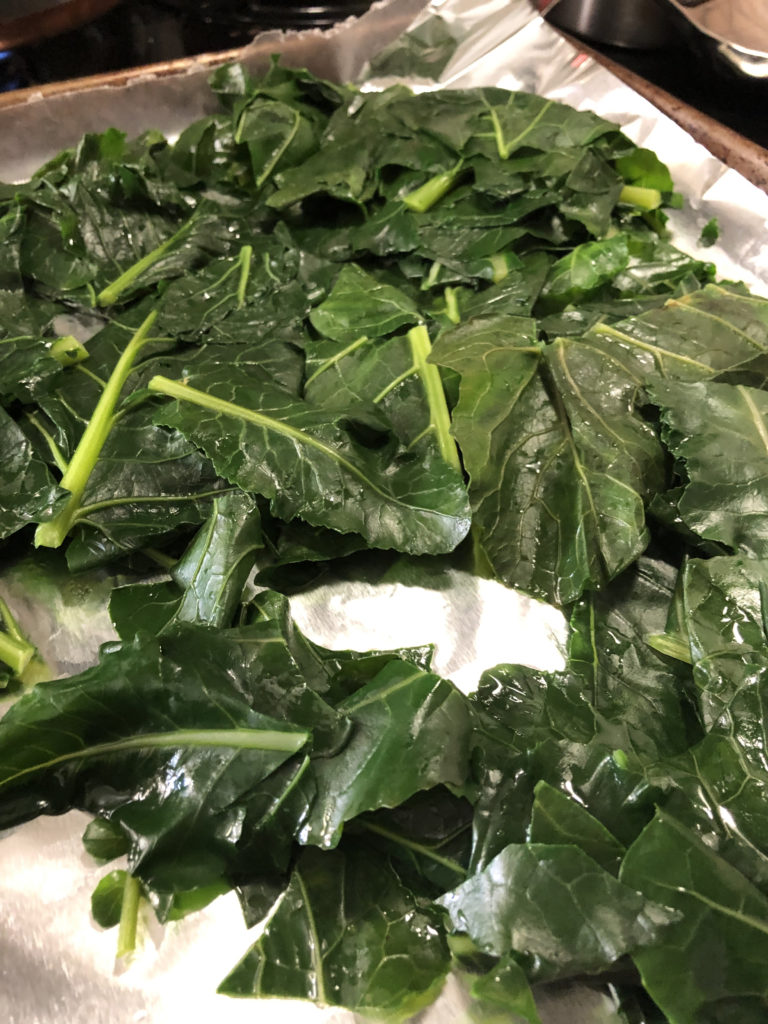
Keep the greens in a shallow layer on the pan so they cool down, not heat each other up.
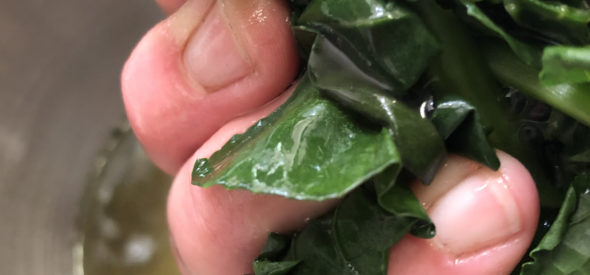
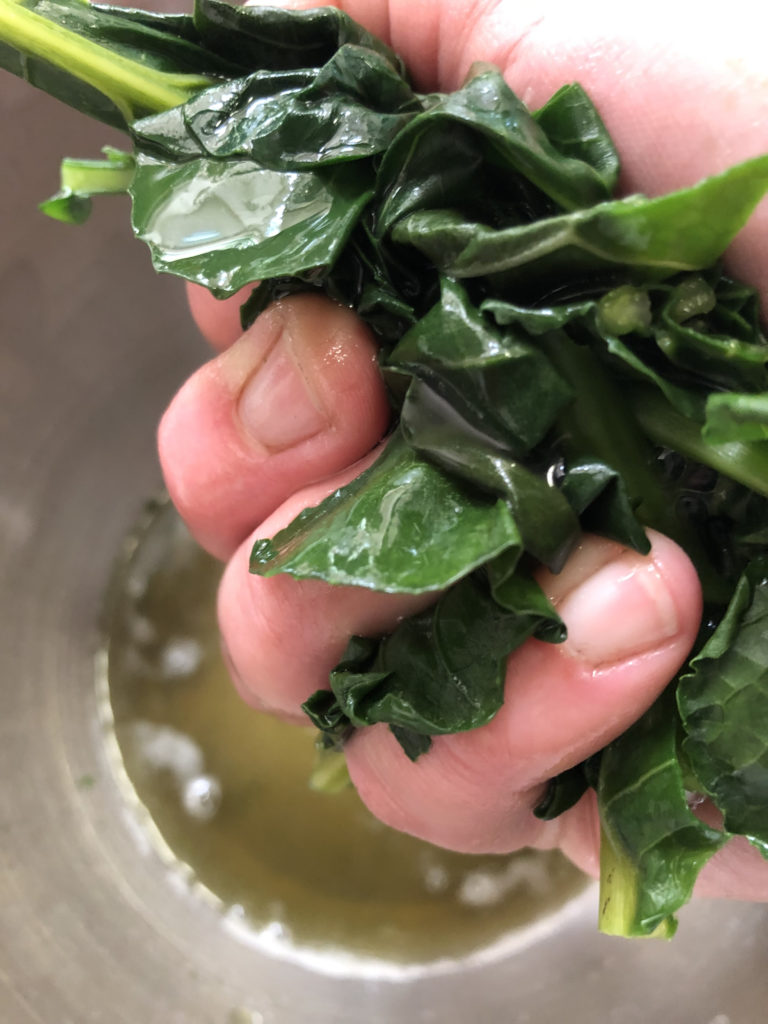
From here you are going to squeeze handfuls of your blanched greens to make pre-portioned servings before you freeze it. Let the greens cool a bit and then squeeze the liquid from your greens out into a bowl (cause I’m going to pour it in my composter) or just pour the excess liquid down the drain.
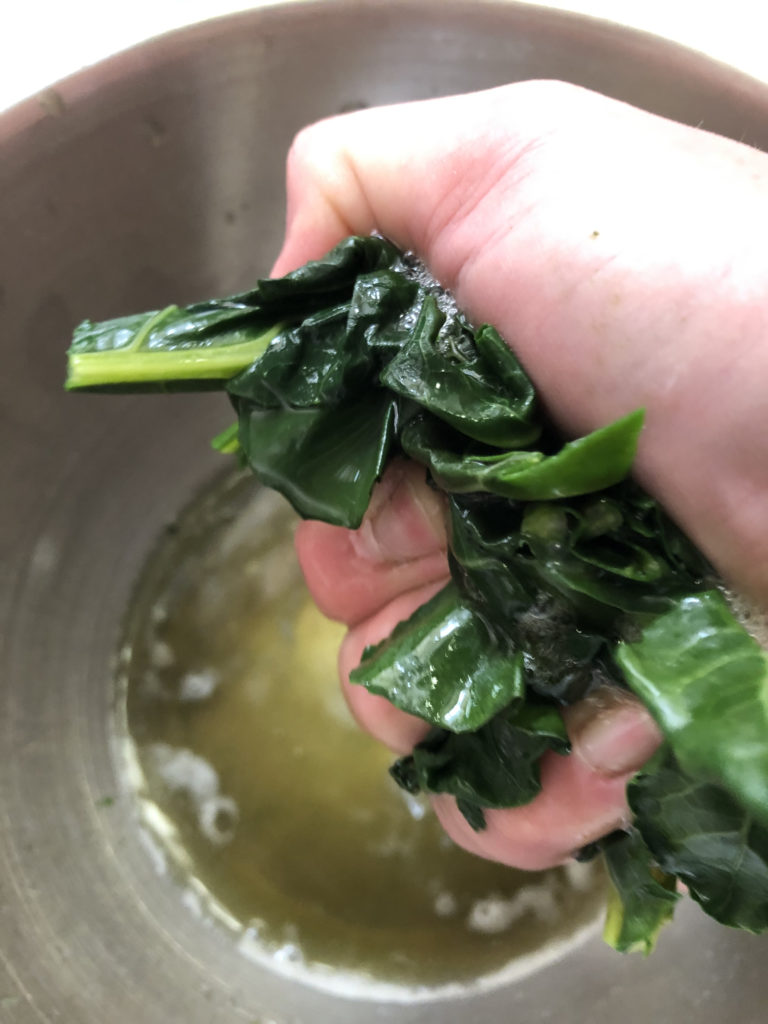
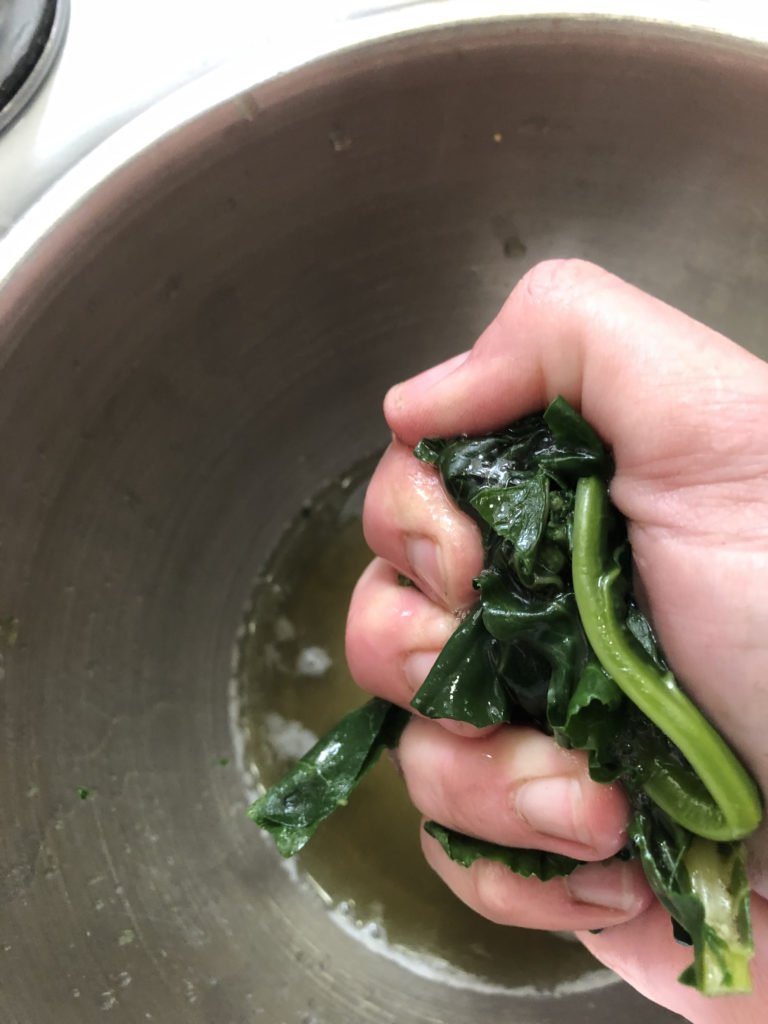
You’re really gonna want to squeeze out as much liquid as possible. Then place your handfuls of goodness on another cooking sheet or a cutting board or a plate or make your kids hold ’em.
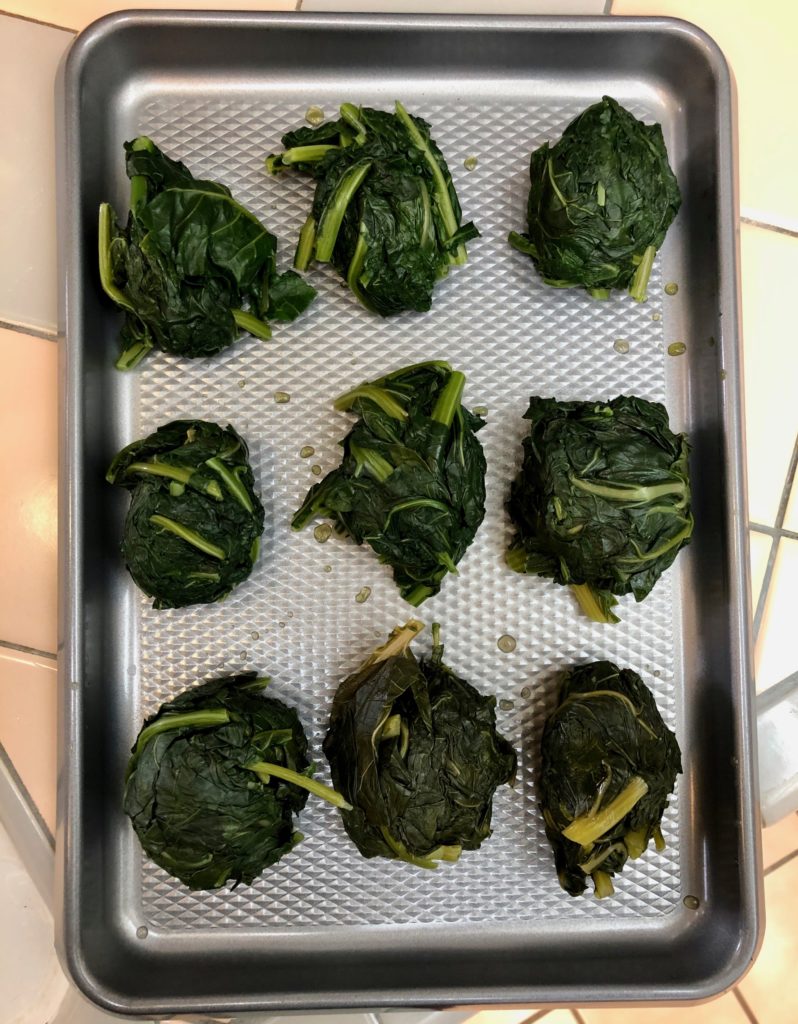
From here, you can just pop these in a freezer bag and into the freezer! Now you’ve prepped some pre-portioned super nutritious veggies for a future meal or two or three or four and it’s really not all that time-consuming. Best of all, you are truly enjoying and utilizing your garden’s bounty.
You can use this cooking method with collards, kale, chard, beet and radish greens – whatever you got growing. Start tasting your greens at 2 minutes. Kale and chard won’t take as long as collards and broccoli. Enjoy your garden, warriors!!!
(And try some yummy broccoli green recipes like this one! )
https://abraskitchen.com/super-green-detoxifying-broccoli-soup/
Category Recipes, Vegetable gardening | Tags: blanch, blanching, broccoli, Garden, GREENS, Harvest, recipe, vegetable beds, Vegetable Garden, vegetable gardening